

Few people would disagree that roof installation in your house isn’t the most thrilling home improvement job you can undertake. Even so, if your house starts to leak or your roof starts to seem like it needs some TLC, you won’t have much of a choice except to start thinking about a much-needed replacement.
Your home’s beauty and value might both benefit from a new roof. If you want to sell your home, this is a worthwhile upgrade. At the same time, fixing your roof will provide you the sense of security that you should have at home.
When it comes to building a new roof installation, there are a variety of materials to pick from, each with its own set of benefits, drawbacks, and installation techniques. Before deciding on a roof installation material, do your homework and investigate properly, since a large undertaking like this may be rather pricey.
The last thing you want is to have to find a new replacement right away. To assist you, we’ll go through numerous roof installation procedures based on the type of material employed. Keep in mind that the materials we’ll discuss aren’t the only ones accessible; they’re just the most popular.
As a result, don’t restrict your investigation to only them.
Roof Installation Preparation
Minimize the amount of damage to your lawn. Plants and shrubberies can be damaged by roof installation, especially if they’re close to your walls, so make sure they’re protected with a tarp. Most contractors will do this for you, but to avoid any delays, double-check with the business before they start working.
- Make certain your home is prepared
When your roof is being put, your walls are certain to tremble and vibrate at some time – either because the installation crew is lugging heavy materials about or because they are using hammers to bang things into position. Remove any photographs or artwork from your walls and put away any breakable things that could fall off a shelf before the staff arrives.
- To Safeguard Your Family
Because a construction site can be dangerous if you don’t know your way around it, you should keep your children and pets away from the work zone for the duration of the installation. Broken tiles, loose nails, and things are thrown from the roof can all be dangerous.
How to do Roof Installation
Asphalt Shingles
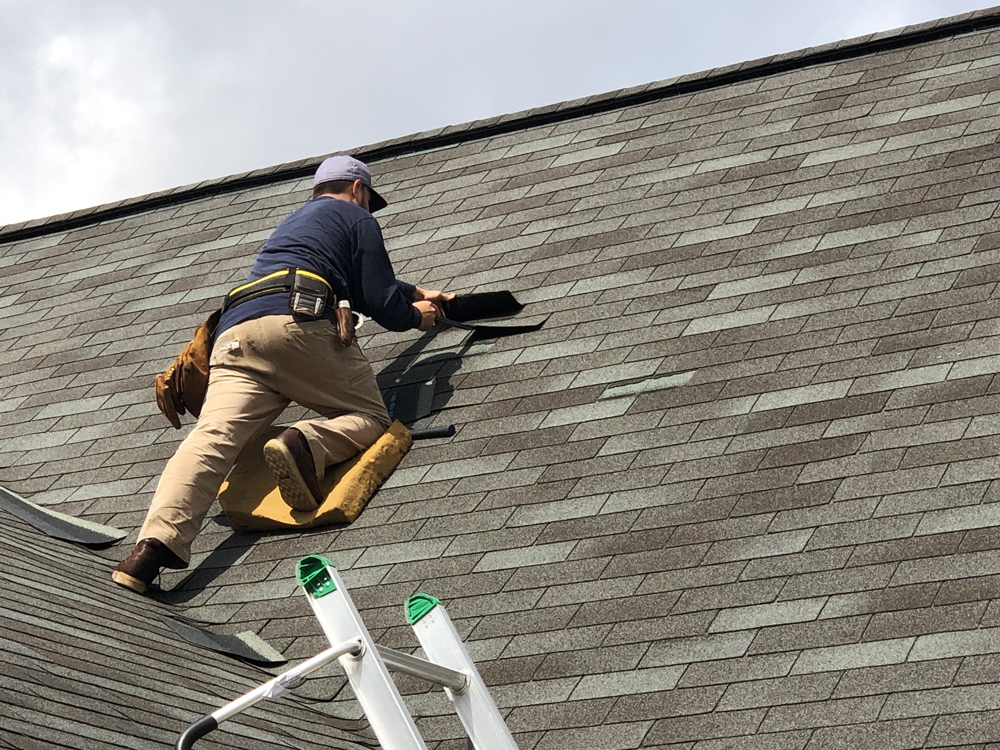
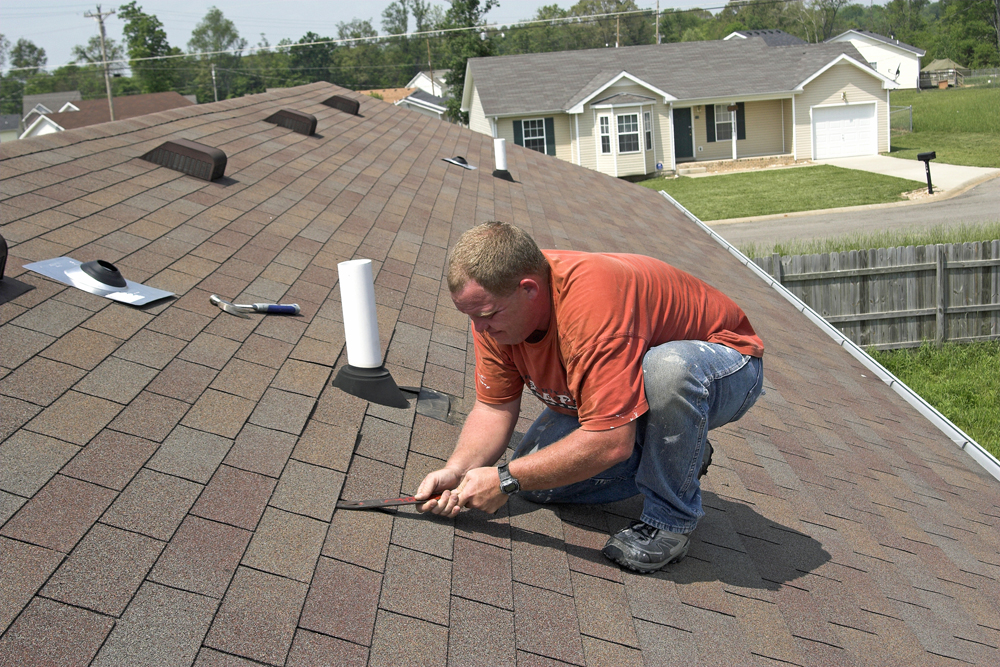
This is possibly North America’s most traditional roofing material. It’s long-lasting, reasonably priced, and comes in a number of colors. One of the best things about asphalt shingles is that you can cover the layer of shingles with new ones instead of having to replace them if you wish to make a change later. Roofing nails should be driven through the tabs right below the sealant line and spaced according to the manufacturer’s directions to secure the asphalt shingles. When shingling a roof, start at the edge with a beginning strip, which may be made by cutting the tabs off the first shingle (approximately 6 inches).
Then, along the eaves, continue to install full-length starter shingles. Move on to the second course and work your way up the roof, nailing every shingle in place after the beginning strip is complete. Make sure the first shingle of each course is roughly 6 inches thinner than the one below it.
Roof Installation of Cedar Shake & Shingle
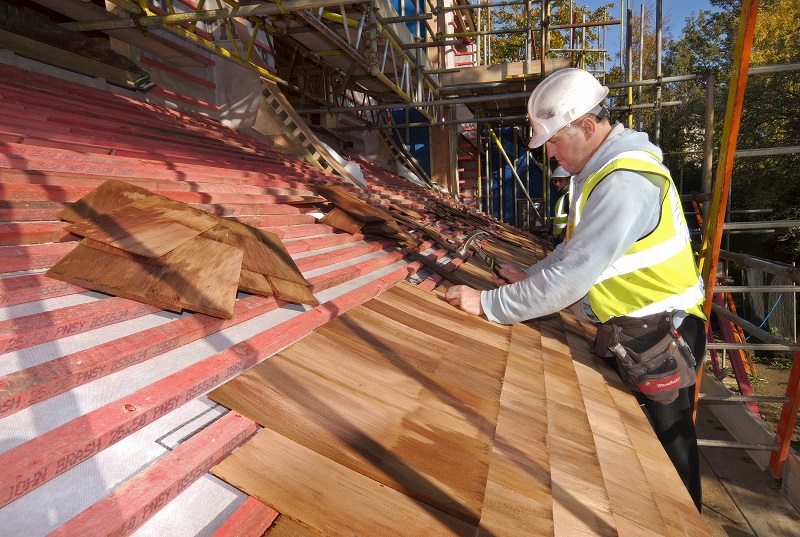
Authentic cedar shake or shingle roofing has a traditional appearance, is wind resistant, has a high R-value (twice that of asphalt), and is manufactured from a renewable resource. This long-lasting, natural roofing material comes with a fifty-year warranty. Normally, cedar shingles and shakes are installed in single courses, one at a time.
Two nails are positioned about an inch from the outside borders of each shingle. According to the B.C. Shake & Shingle Association, shingles must be doubled or tripled at all eaves, regardless of design. First-course shingle butts should extend 1-1/2 inches past the fascia. The distance between neighboring shingles (joints) should be between 1/4 and 3/8 inches.
Joints in one course should be at least 1/2 inch apart from joints in neighboring courses, and no two joints in any three courses should be in direct alignment. Site-made or factory-assembled hip and ridge shakes may be used on roof hips and ridges, but both types must have alternating overlaps and hidden nailing.
Cedar shake has somewhat different spacing and installation criteria than shingles since it has a hand-split look. The optimum weather exposure for shakes and shingles is also affected by the roof pitch. For precise instructions for your product, always refer to the roofing manufacturer’s specifications. Even for skilled installers, the meticulously spaced shingle-by-shingle technique for cedar roof installation can be difficult.
Installation of a Composite Roof
The publisher of Extreme How-To recently had his home re-roofed using a cutting-edge synthetic product from Davinci Roofscapes: Bellaforté Shake polymer roofing. The multi-width look of these composite roofing tiles mimics hand-split genuine cedar shakes with slanted sawn edges and staggered lengths. The tiles are available in 49 different colours and five different color mixtures. The lightweight material saves time and money during installation and shipment, and it’s also 100% recyclable. Although composite roofing is more expensive upfront than asphalt roofing, it is an investment that will pay off over time. A 50-year limited guarantee is included with Davinci roofing materials.
Roofing Made of Metal

Metal roofing is popular among homeowners because, when correctly built, it may last a lifetime. Metal roofing comes in a range of colors and styles, including tiles, shingles, standing-seam panels, and shakes, all of which are available in a variety of colors to match any home. Because it is lightweight, it may be put over an existing roof, considerably reducing installation time.
While certain types of roofing may be done on your own, metal roofing requires a lot of tools, unique accessories, and special procedures to ensure a perfect new roof installation. Metal roofing is typically installed using one of two methods: a through-fastener system or a clip-fastener system. The first alternative is to use a technique in which the nail or screw used to fasten the roof to the deck also enters the panel. The panels or shingles are fastened with specialized clips in the second method, and the bolts are pushed through the clips rather than the actual metal roofing.
Slate Roofing
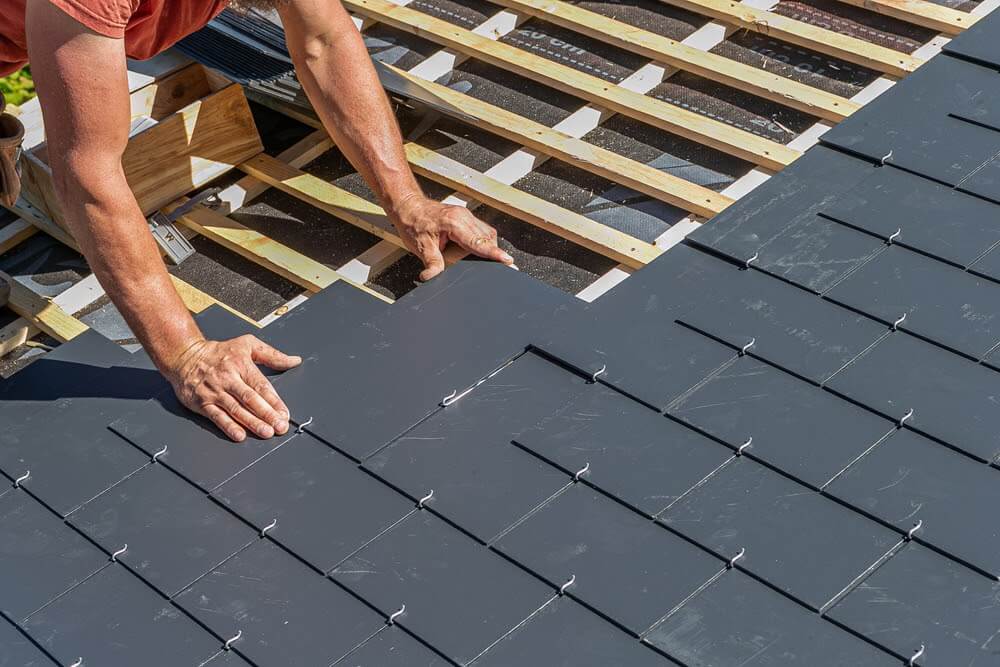
Slate roofs are normally more expensive upfront than standard asphalt shingles, but they are a long-term investment since synthetic slates are far more durable and attractive. The installation of a slate system roof takes significantly longer, and you must be more careful with the material. This is why, when it comes to a new roof installation, it is best to choose an expert.
To guarantee correct installation, aluminum W flashing is put on either side of the dormer. After that, the aluminum is twisted into a V shape and shingle covers are attached all over it. Snow guards are also required on certain slate roofs to prevent snow from sliding down the roof and causing accidents. The reason for this is that slate tiles, unlike other materials like asphalt, are not porous, so snow will not be kept on the roof.
Concrete and Clay
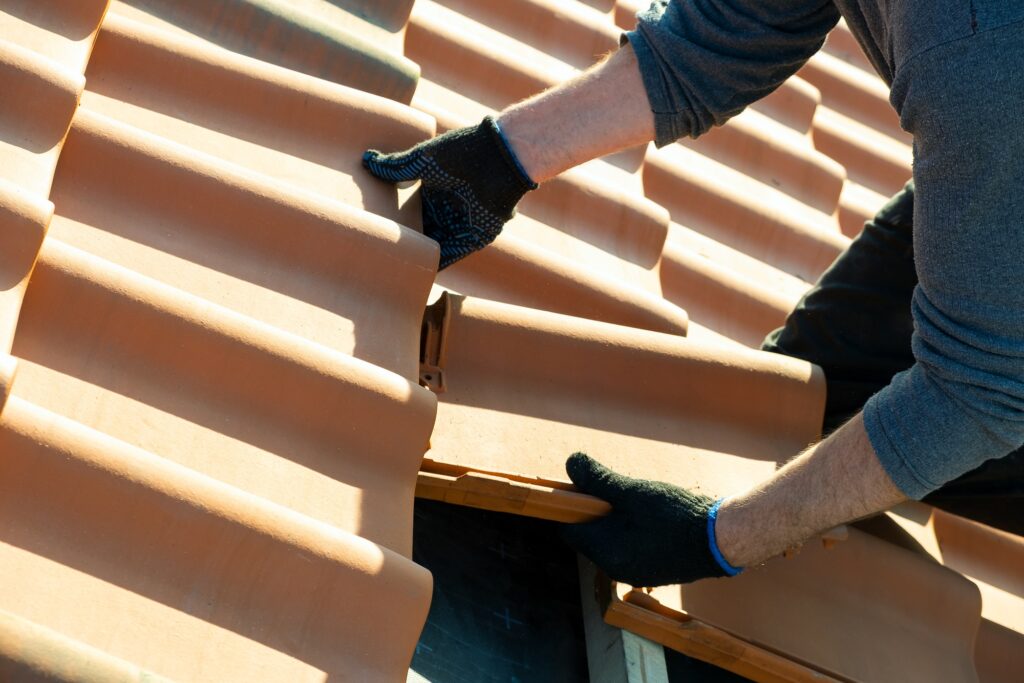
Clay roof tiles are popular because of the Mediterranean look they can provide any property. They are also quite robust despite their small weight, making them ideal for homes without a strong roof. To achieve an equal roof, make sure the surface is level prior to installation. An underlay, which is usually made of asphalt-soaked materials, is placed beneath the shingles to make sure the tiles are properly set.
After the underlay is finished, a metal flashing is installed around the chimneys, and vents are installed wherever the roof meets a vertical wall. A 10d nail is positioned at the base of the clay tile and into the batten to install the tiles. To guarantee stability, place mortar under the first tile. Install another tile at the opposite end of the row, then work your way from each side to the center.